
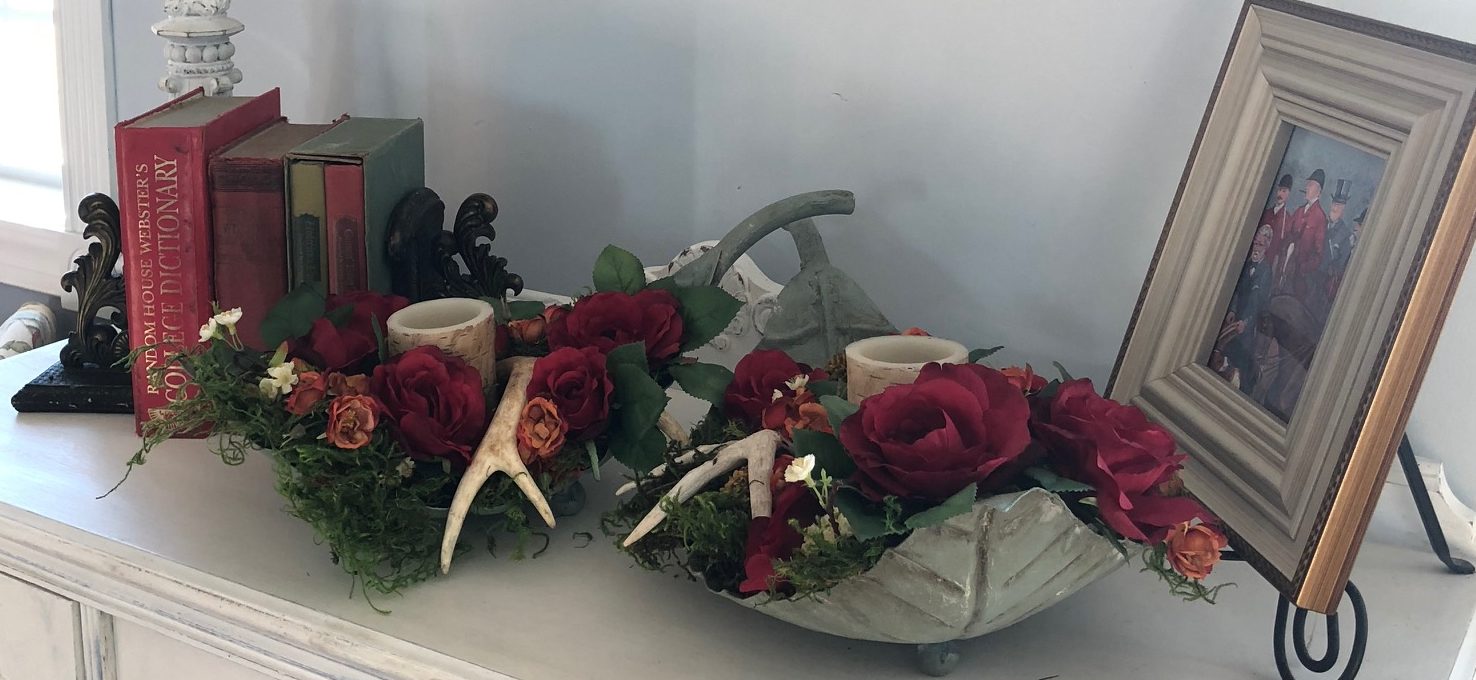

Last year, on one of many visits to the Nashville Flea Market, I found this pair of metal leaves.
At first, I didn’t particularly like them.
They had a very dark brown patina and just screamed… not my style.


Just as I was walking away, my friend grabbed my arm and pointed at the leaves.
  Now, I should tell you, my buddy is always pointing things out to me at flea markets and yard sales.
I think she lives vicariously through my wallet. I always seem to spend more money than her.
… she is, after all a master when it comes to bargain shopping and since they where only $10.00….
Needless to say the leaves went home with us.
Now, six months later, it was time to paint them..
plus its  January and I need something to do.

I wanted to brighten them up, but didn’t want them to look flat.
They needed some texture and a bit of distressing.
Chalk Paint is excellent for giving a project texture.

If you have ever used Annie Sloan, Chalk Paint, then you know texture can easily be achieved by using this technique.
I call it…The Slap it on Willy Nilly┬átechnique.
I did try to find the actual name of this technique but had no luck, so, Slap it on Willy Nilly, will do for now.
  You will need.
- Chalk Paint
- Thick bristle brush
- Blow dryer ( Yes you heard me right.)
- Dark wax
- Clear wax
- paper towels
First, I painted the pair of leaves with A/S Pure white.
It took 3 coats since the brown was very dark and it wanted to bleed through a little.
Tip.
If you want to avoid bleeding through on your paint projects then simply spray first with shellac. This will seal any prior finish and stop the bleeding.
Then I went over the white with A/S Duck Egg Blue.
This is where the Slap it on Willy Nilly technique comes in.

You simply load your brush with paint and apply in thick strokes in all directions, or in one, it doesn’t matter as long as the paint is thick.
Work in small areas using the blow dryer on the thick parts.
and…before your very eyes…the paint will start to crackle.
when all the paint is dry, apply a clear wax with a wax brush and buff it off with a paper towel.
Since I wanted this project to look a bit worn and aged I also used a dark wax.
Tip.
I dip my brush in the Dark Wax then mineral spirits, blotting the brush on a paper towel, this makes the wax easier to work. 
After working the Dark wax into all the cracks and lines and textured parts, I buffed off the dark wax and re-applied another coat of clear wax.
The clear wax will take off the dark wax but leaves it in the textured part also sealing your project.
I can’t wait until our next trip to the flea market to see what else my buddy will find for me.


