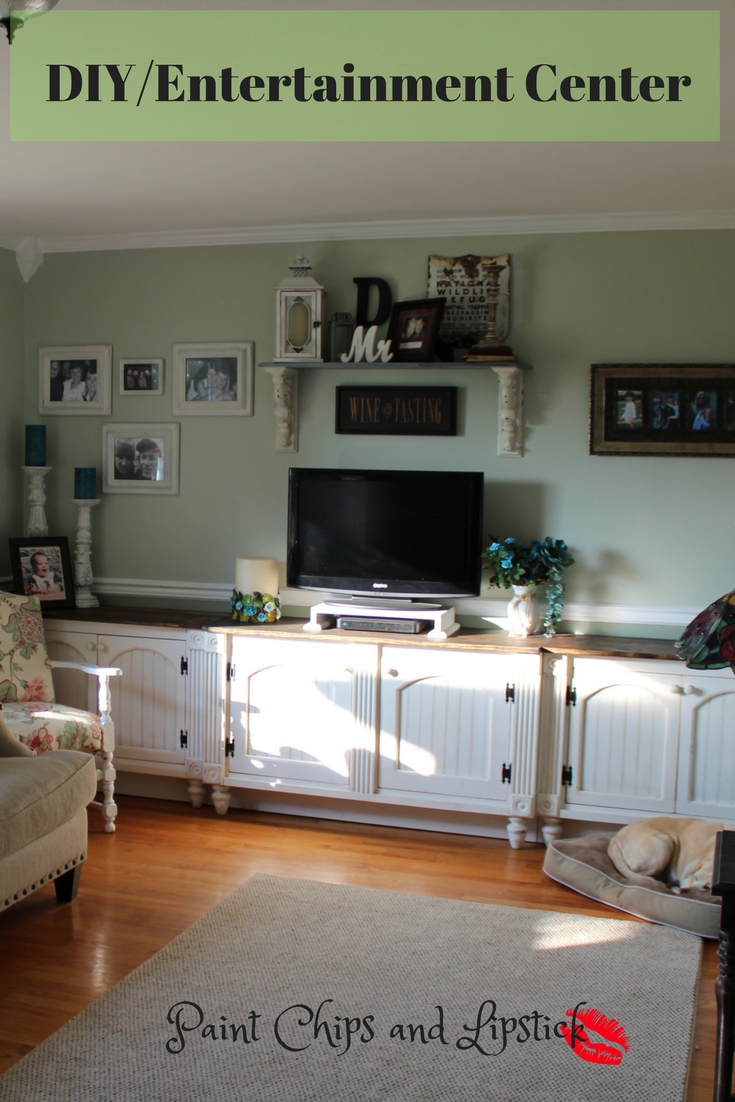
How to create your own French Country/DIY Entertainment Center.
Building furniture for our home has become quite a hobby of mine. I love the challenge and it really gets my brain working. Now! I am no expert, in fact, quite the opposite, however once I mastered the basics to building furniture, the sky was the limit.
My latest creation was this Entertainment Center. I wanted something the full length of the wall keeping in mind the French Country look. I decided not to enclose the T.V since I was working with a small living room area and didn’t want the room to look too crowded.¬† After several scribbled drawings and lots of coffee and head scratching it was time to begin.
 After carefully measuring the wall from end to end and the height of the chair molding, I drew¬† a diagram of what I wanted the finished product to look like. I then divided the measurements in to 3 pieces, keeping the center piece 2″ deeper and 8″ wider.

TIP. When designing your own furniture, always measure what the outside, finished measurements will be.
Once I have a basic drawing and know what all my finished measurements will be I then figure out what the inside measurements are, keeping in mind the thickness of my lumber. All the furniture I build whether that be a small pantry, closet, vanity or this entertainment center all have  inside supports. This makes the furniture very strong and durable.


 TIP. If you have never built a piece of furniture before I suggest building a simple box. Every piece of furniture is basically a box modified to your own specific dimensions.
I always use #3 pine or 1 x 12 pine decking, the boards can be a bit rough so make sure you look each piece over for warping or too many knots and sap.
This project took me 3 day’s to build and 2 day’s to paint and finish and cost approximately $250.00, not including the hardware. As with most of my projects I used Annie Sloan chalk paint, Pure White with the dark wax watered down with a mineral spirits. For the top I used minwax¬† Dark Walnut stain and finished it with a rub on poly urethane to seal and protect.

I am so happy with how this project turned out, now I just have to decorate the rest of the room.


